Ok, I know I told you I would post this tutorial yesterday...
And I am sorry about that, but Tuesday turned into a busy (in a good way) day and I just never got around to it.
So, one day late, here is your tutorial!
{Onesie Dress Tutorial}
1. To start, you'll need to make a few measurements on your plain onesie.
a. First, you need to measure from the top neckline down to figure out where you want to place your dress. I marked the 5" spot for the dress. I also marked the 8" spot to show you where you could place a skirt if you chose to do that instead of a dress.

b. Now you need to measure across the body of the onesie. Mine measured to be 7 1/2".
c. And last, you need to measure from the marking you made in step A. down to find the length of the dress/skirt you desire. I found that about 10" down was about right. It is up to you!
2. Now, take the fabric you will use for the dress/skirt and fold it in half with the right side facing in. Place the fold on your left and measure from the fold over. You will take your measurement from step B above and double it. (My measurement was 7 1/2", so I measured over 15"). Cut your fabric at this measurement.
3. Now you will need to take your measurement from step C above, measure, and cut your fabric to that length.
4. Keep the fabric folded with right sides in as you did in step 2. You will now sew the ends, which are opposite of the folded edge, together.
5. If you have a serger, it might be a good idea to now serge the edge where you just sewed for extra security. If you don't have a serger, you can use a zig zag stitch or simply iron the edges flat.
6. This is where I ironed my seem down flat.
7. You should now have a tube of fabric. If you are following my measurements, it should be about 10" from top to bottom. Now, you can either serge both ends, use a zig zag stitch, or fold/iron over twice and sew the hem down.
I serged.
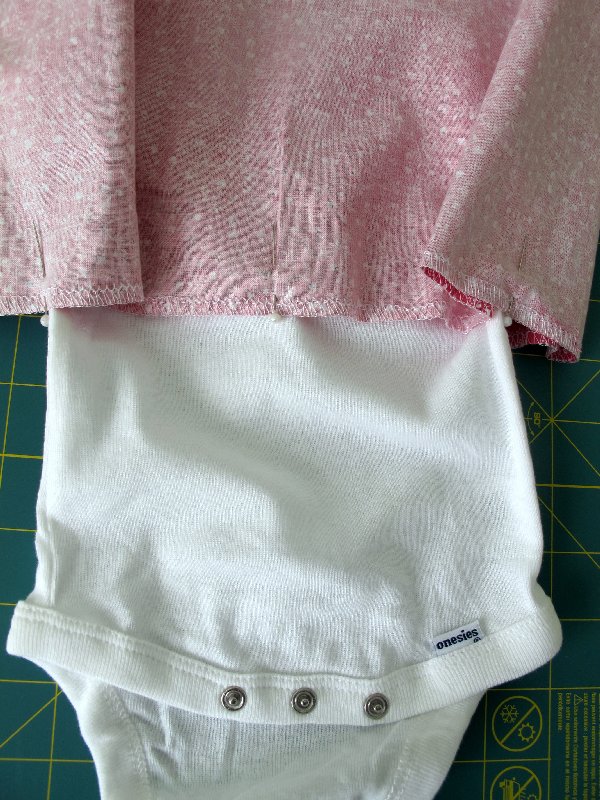
8. Ok, now we attach our fabric to the onesie. Keeping your tube of fabric with right side in, place it over the top of the onesie and line it up with your marking from step A. The fabric should be covering the top neck and arms of the onesie and the bottom snaps should be showing.
Make sure you line the seem you created up with the center of th back side.
9. Pin the fabric in only 4 places: 2 sides, front, and back. There should be large gaps in the fabric between the pins, this is good. Make sure the gaps are all pretty equal.
10. You are now ready to sew! Starting at the side seem, you will sew the fabric to the onesie.
11. Remember those gaps, like pictured above? This is a crucial part - As you sew, pull and stretch the onesie material so that there is no longer a gap in fabric. This will allow the dress to gather correctly.
12. Here is what you should have now:
13. Flip the skirt over, iron down around the area where the dress and onesie are sewn together to keep it from bulging.
14. At this point, if you have only serged or zig zagged the bottom edge, fold it under, iron, and sew it down to create a clean hem.
And that, folks, is all there is to it! Go ahead and get creative with embellishments whether you add lace or ruffles or flowers...the sky is the limit!
Here is the dress when I finished it the first time:
I felt like it should be a little shorter, so I cut off about 1 1/2" from the bottom.
I used that extra fabric to make a little gathered flower.
I then added some handmade lace to the bottom for a little extra flair.