

(Warning: Not sure why, but my pictures look all wonky and blurry. Hope you can deal!)
Ande's car seat strap covers were starting to fall apart.
They didn't seem like a very hard thing to sew up, so I decided to make some.
And, I was right, they aren't very hard to do at all!
First, I gathered some materials.
I used some quilt batting, 2 colors of fabric, velcro strips, and some iron on fleece for the extra durability.

To get the right shape, I just traced Ande's old cover with a little extra room on all sides for the seams.
Then, I cut the velcro strips to fit the width of the fabric.

Next, I sewed a velcro strip to each piece of fabric.
I then started to assemble the pieces for sewing.
First, I laid down the batting, followed by a fabric piece (right side up).

I then placed the other fabric piece (right side down) on top.
You also have to make sure that the velcro strips are on opposite sides.
Once assembled, I sewed around the edges, leaving a small hole for flipping right side out.

It will definitely need some ironing after being flipped right side out.
Ironing will also help flip the edges of the hole inside and hold them in place.

Then, you sew a top stitch around the entire thing.

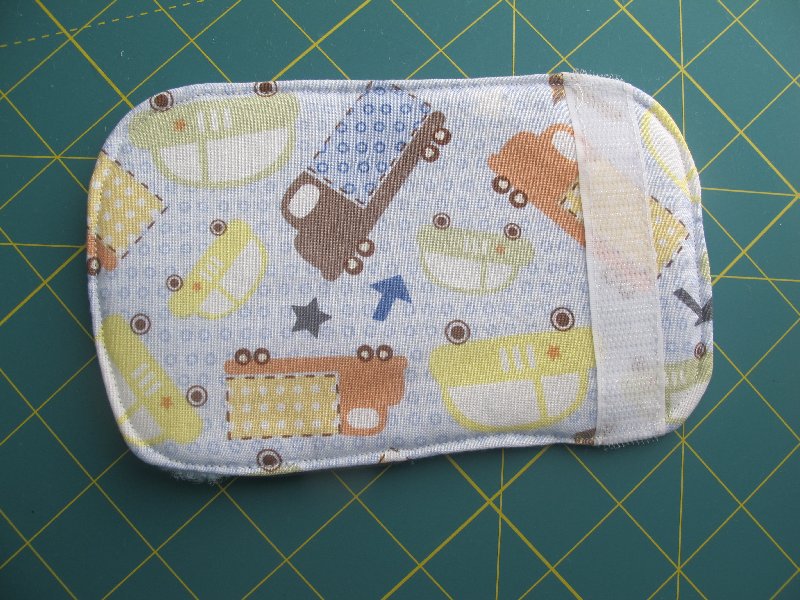
The cover folds into thirds around the carseat straps to protect your little one's neck from any irritation.

This was such an easy project.
I actually made 2 sets and it only took about 30 minutes to finish them all.
They would also be great with some soft minky type fabric.
Now, if I can just get Ande to keep them on his car seat straps!
He is so excited about the covers having cars and trucks on them that he pulls them off to look at them every time we get in the car!
No comments :
Post a Comment